How to Create a Consignment Sale
The sale wizard walks you through everything in four quick steps: name, dates, fees, and labels. By the end, you'll have a sale ready for events and volunteers.
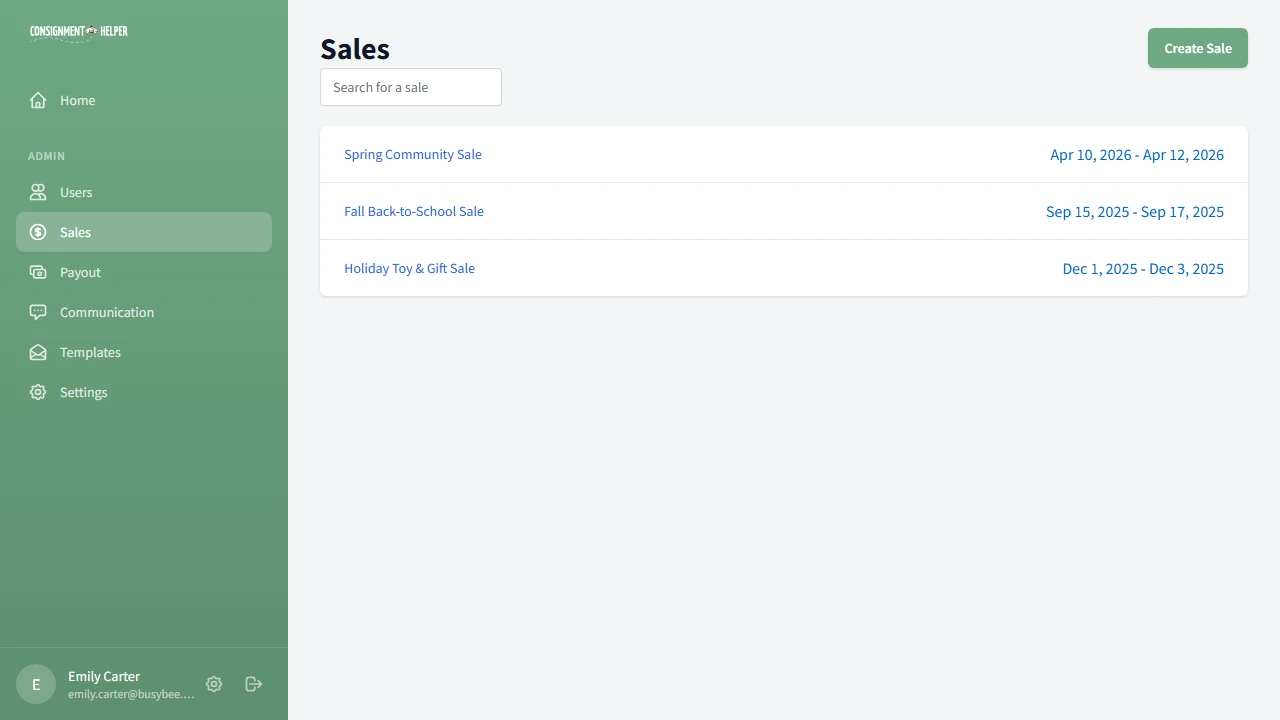
Navigate to the Sales List
Open the admin panel and click Sales in the sidebar. You'll see all your existing sales listed here. Click the Create New Sale button to start the wizard.
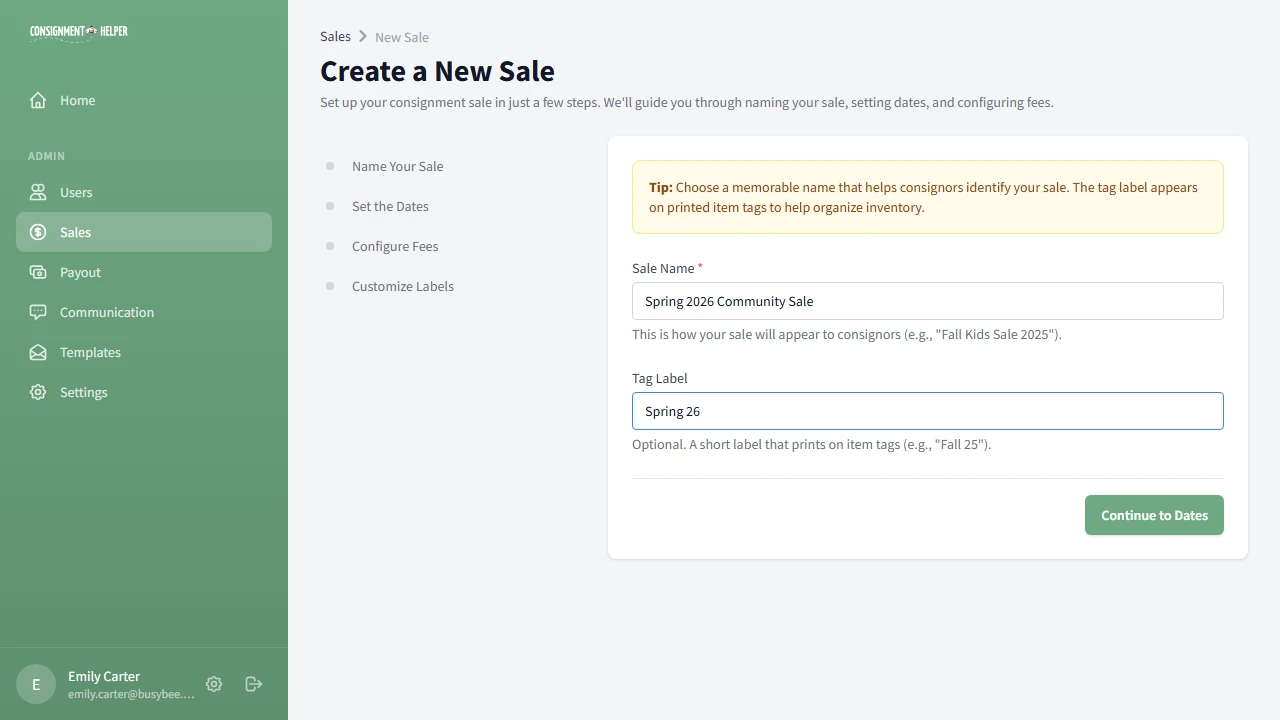
Name Your Sale
Give your sale a memorable name that consignors will recognize, like "Spring 2026 Community Sale".
You can also set an optional tag label, a short name (like "Spring 26") that prints on item barcode tags so you can tell which sale an item belongs to.
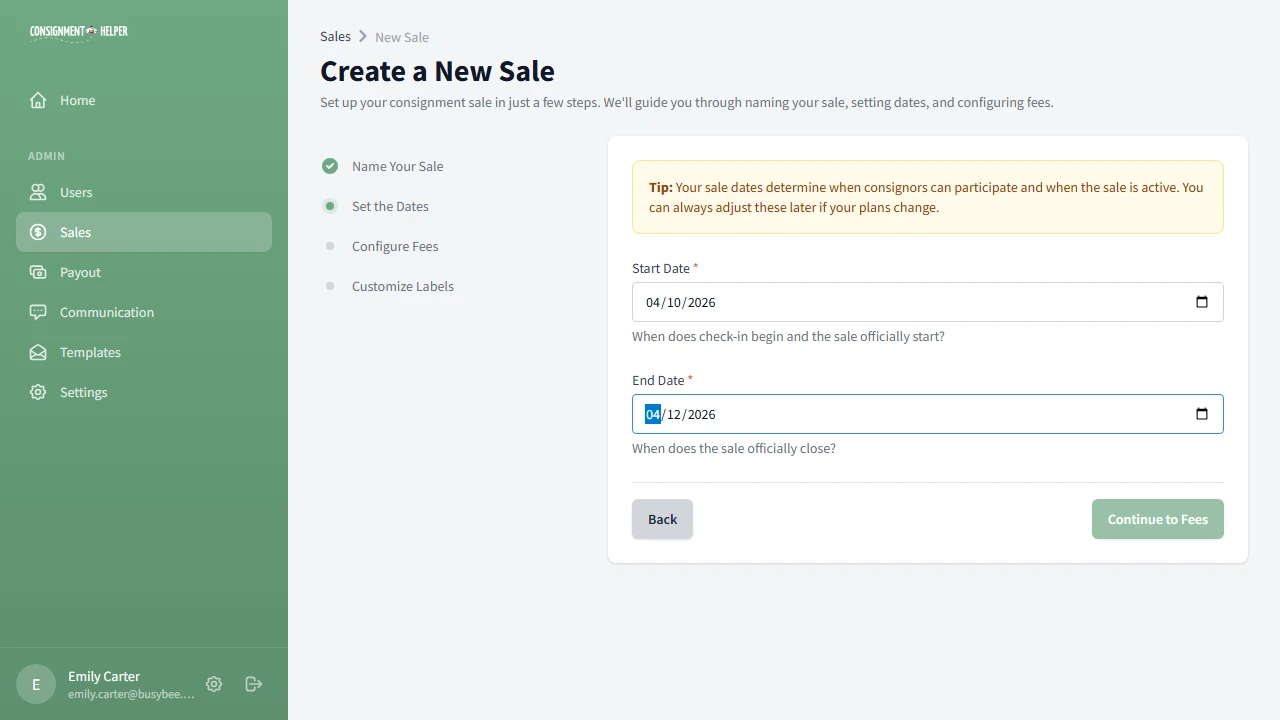
Set the Dates
Pick a start date (when check-in begins and the sale officially starts) and an end date (when the sale closes).
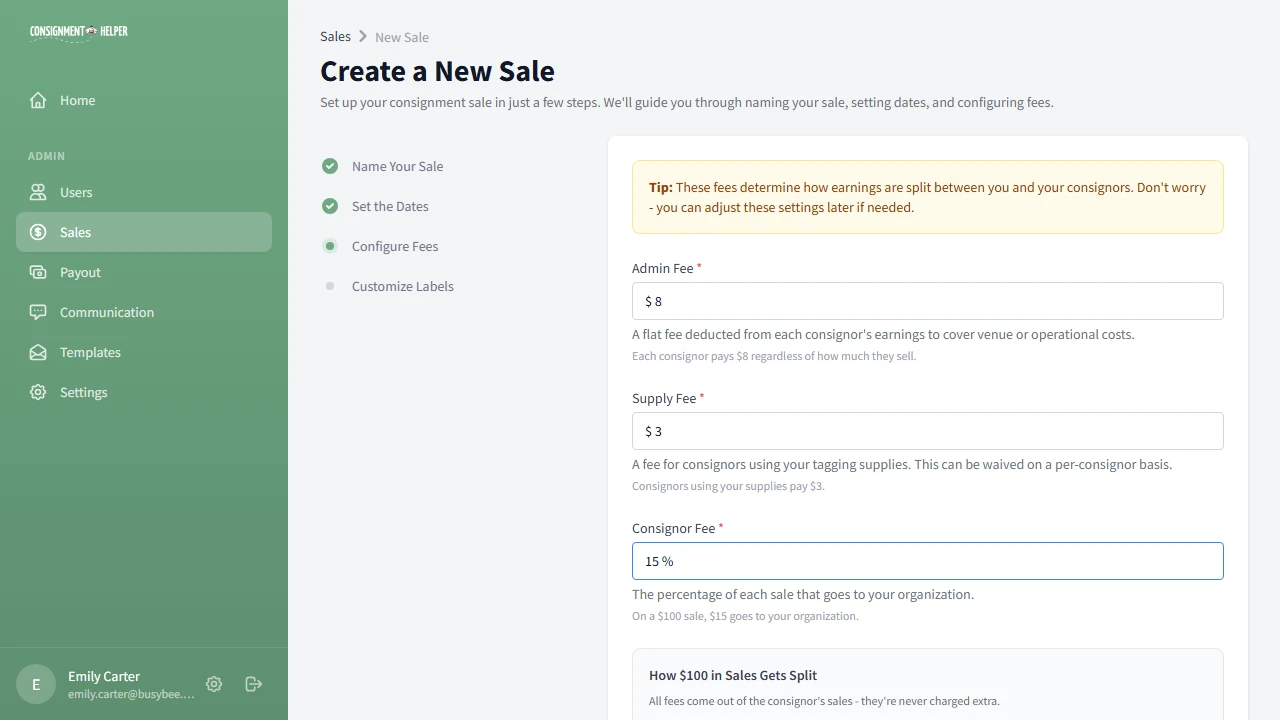
Configure Fees
Set three fees that determine how sale proceeds are split:
- Admin fee: a flat fee per consignor for venue and operational costs
- Supply fee: a flat fee for consignors using your tagging supplies
- Consignor fee: a percentage of each sale that goes to your organization
The interactive calculator shows exactly how a $100 sale splits, so you can see the impact of each fee before you commit. Learn more about fee management.
Choose Your Volunteer Label
Choose what to call the people who help at your sale. The default is "Volunteer", but you might prefer "Helper," "Team Member," or "Worker." Choose whatever fits your organization.
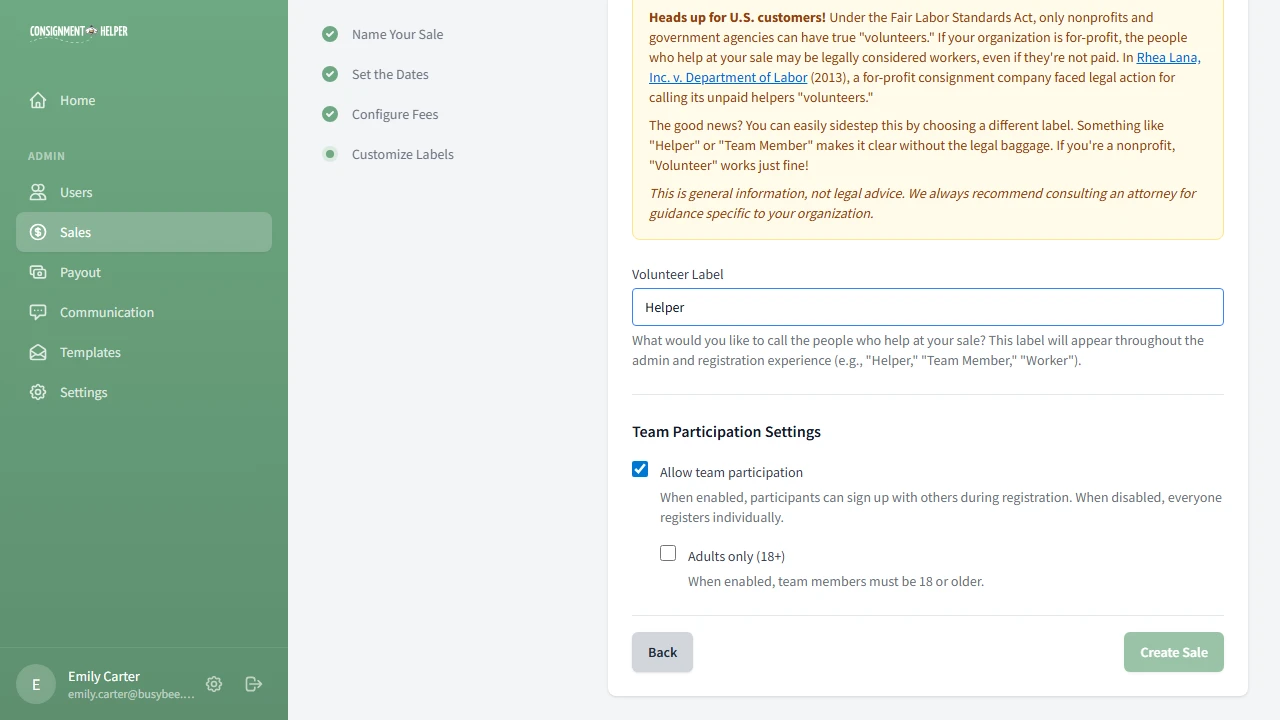
Configure Team Participation
On the same screen, you can enable team participation. This lets people register with a partner during sign-up, which is great for couples or friends who want to consign together.
When team participation is enabled, an Adults only (18+) checkbox appears. Turn it on if you want to require that team members are 18 or older.
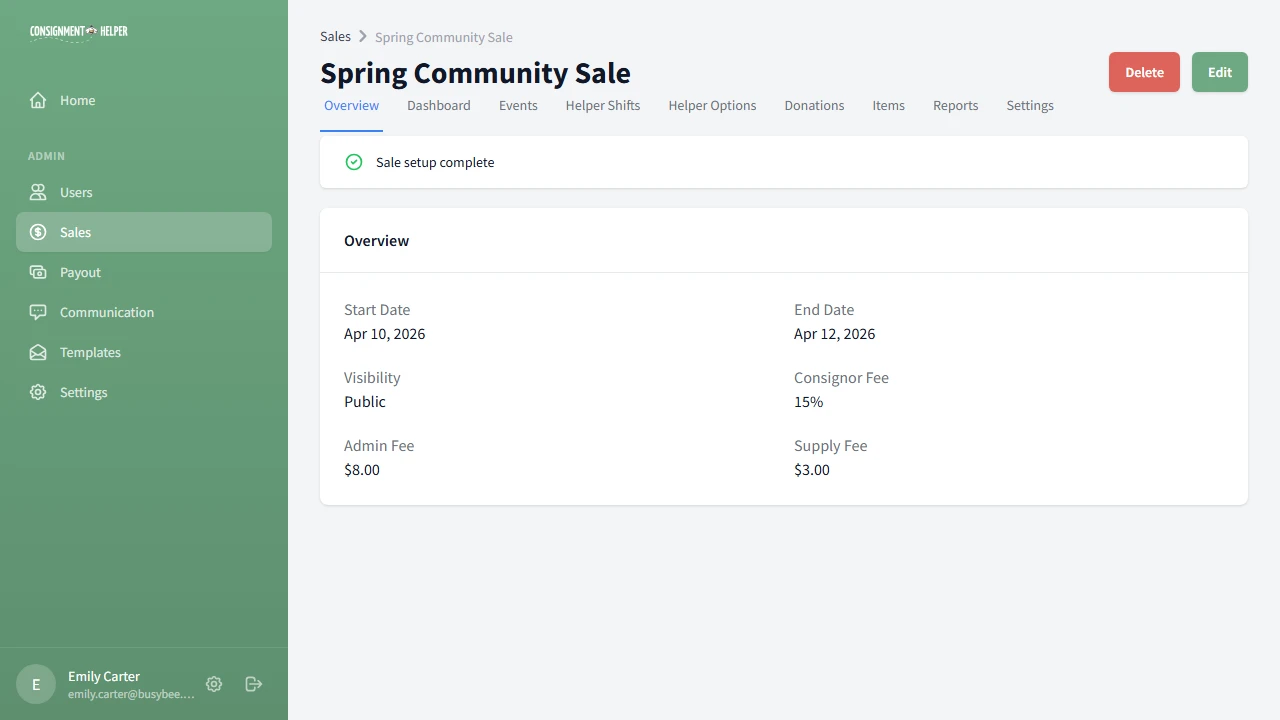
Review Your Sale Overview
After clicking Create Sale, you land on the sale overview page. Here you'll find:
- A setup checklist that tracks what's left to do before your sale is ready
- A summary of your sale's dates, fees, and visibility
The checklist guides you through creating events, adding volunteer options, creating shifts, and publishing your sale.

Configure Sale Settings
The settings page lets you control your sale's visibility. New sales start as Private so you can finish setting up without consignors seeing an incomplete sale.
When you're ready for the world to see it, switch to Public and consignors can find, register, and add items.
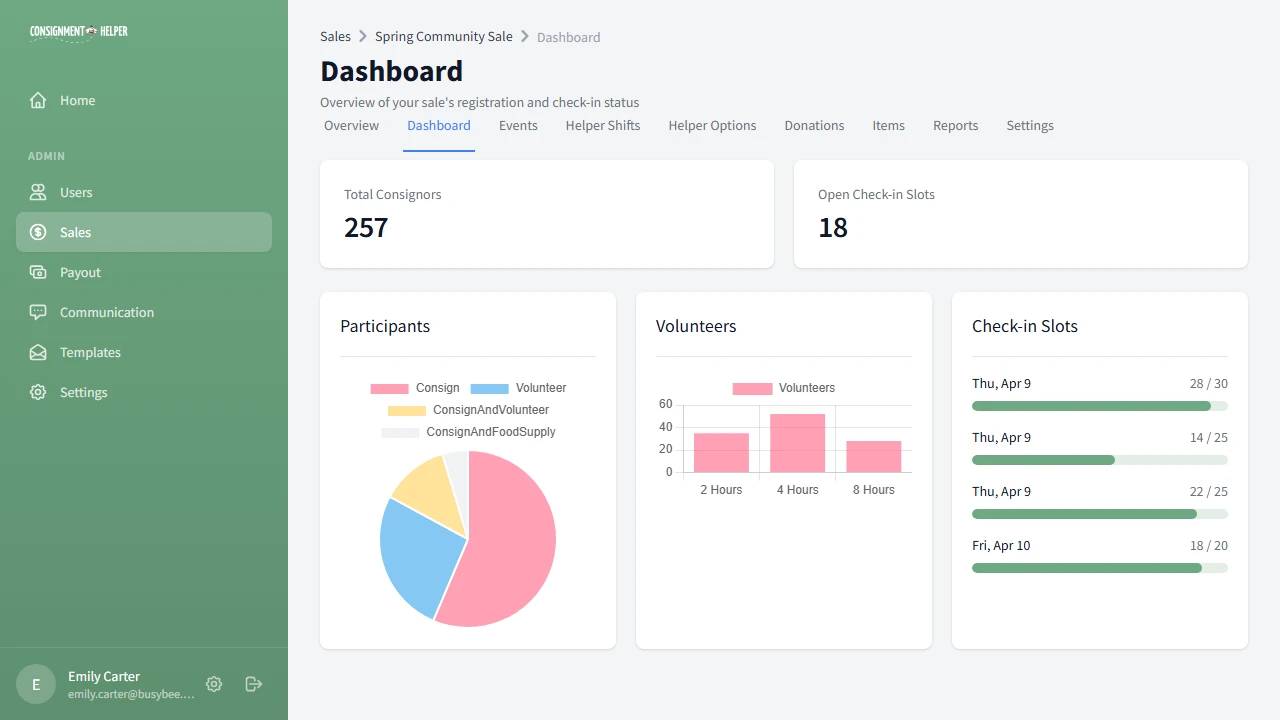
Check Your Dashboard
Your sale dashboard gives you a real-time overview once registrations start coming in:
- Total consignors and open check-in slots
- Participant breakdown by registration type
- Volunteer hours distribution and slot fill rates
Your Sale Is Created. What's Next?
Now that your sale exists, follow the setup checklist. The next guide walks you through creating events with check-in time slots.
Next: Set Up EventsCommon Questions
Can I change my sale name or fees after creating it?
Yes. Everything you set during the wizard can be edited later in Sale Settings. You can update the name, dates, fees, and labels at any time, even after consignors have started registering.
What happens if my fees are too high?
The fee calculator warns you in real time if a consignor would owe money instead of earning it. This can happen if the admin fee and supply fee together exceed the consignor's share of the sale. Adjust the amounts until the take-home is positive.
Should I make my sale public right away?
We recommend keeping it private until you've finished setting up events, volunteer options, and shifts. That way consignors won't see an incomplete sale. Switch to Public when your setup checklist is complete.
Need a Hand?
Our team is happy to walk you through the setup process. Schedule a free demo and we'll get you up and running.