How to Set Up Events for Your Consignment Sale
Events are how consignors sign up for check-in time slots in the event registration flow. This guide walks you through the event wizard, from naming your event and choosing who can register to generating time slots that spread drop-offs evenly throughout the day.
Open the Events Tab
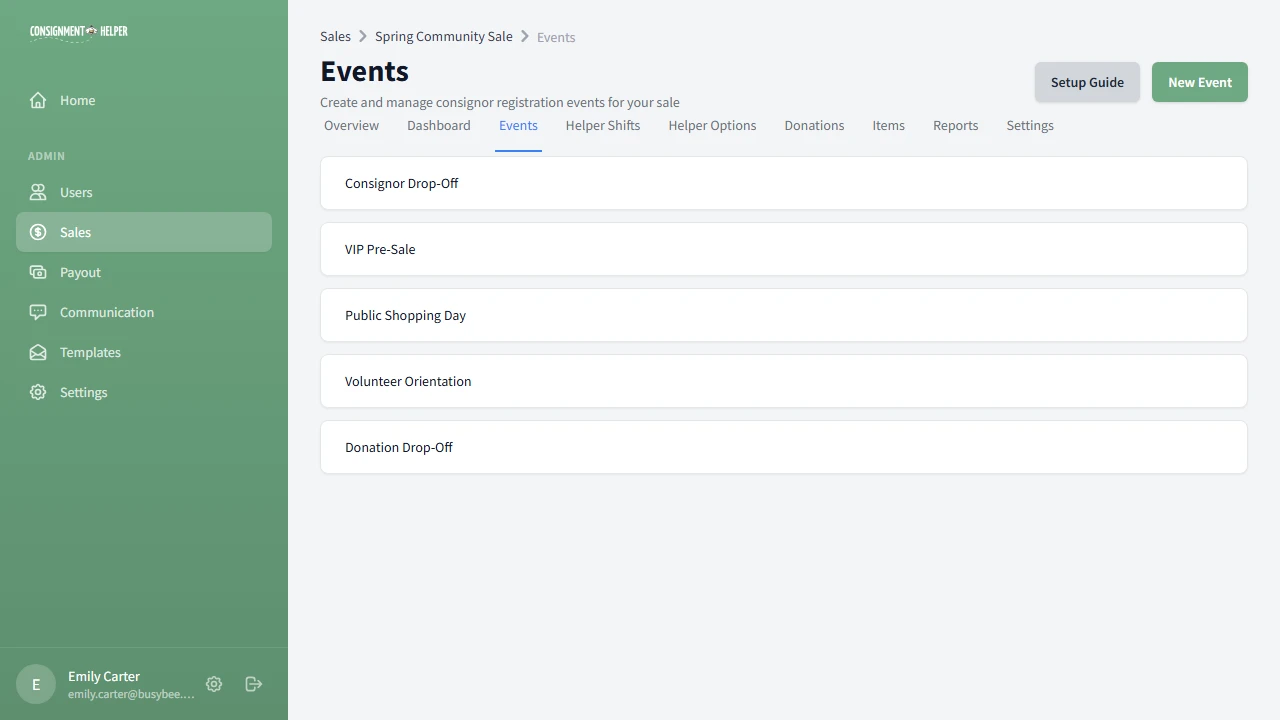
Navigate to your sale and click the Events tab. If this is your first event, you'll see an empty state with a "Create Your First Event" button.
Name Your Event
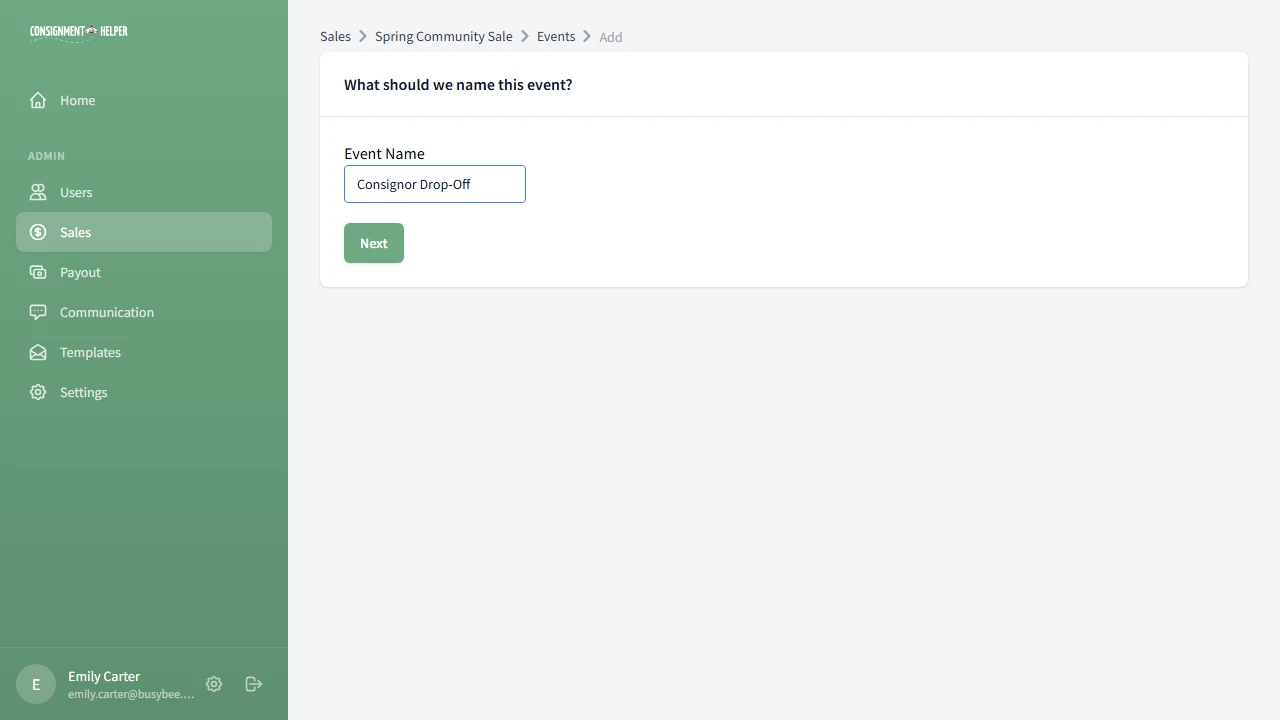
Give your event a clear, descriptive name. Consignors will see this name when they register, so make it obvious what the event is for.
Good examples: "Consignor Drop-Off", "Friday Check-In", or "VIP Pre-Sale Shopping".
Choose the Event Type
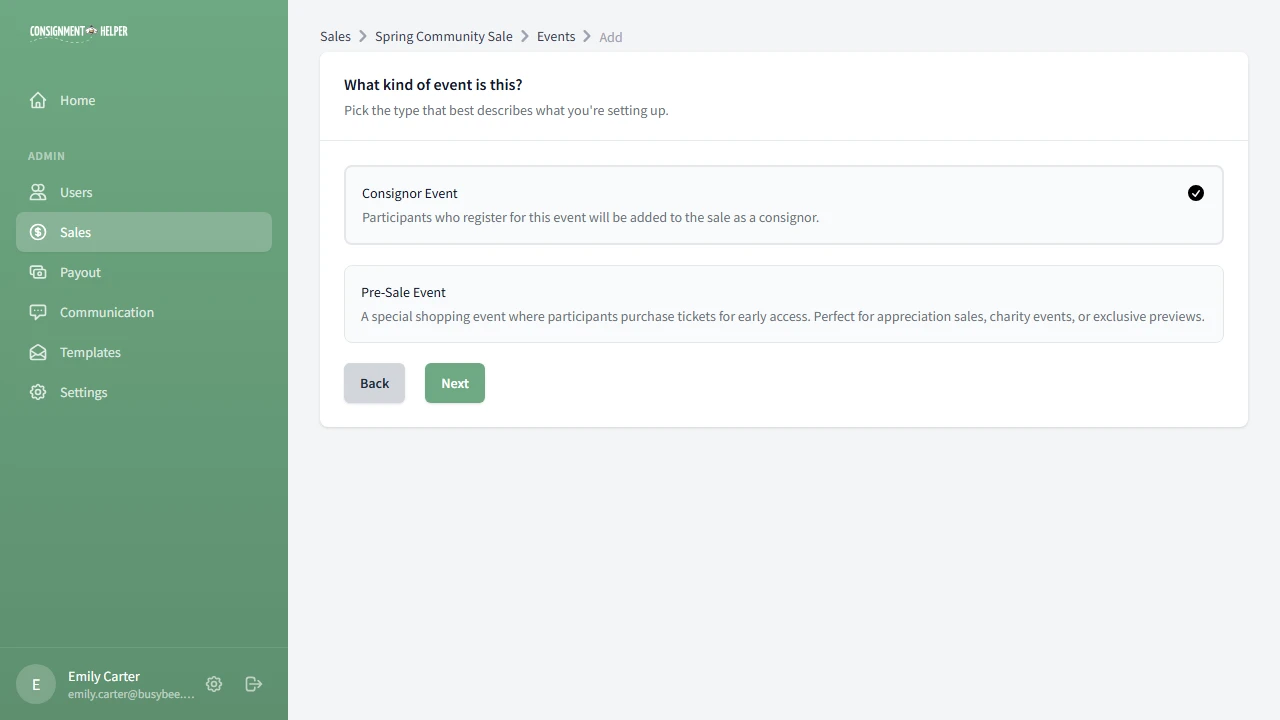
Pick the type that matches what you're setting up:
- Consignor Event: standard registration where participants sign up as consignors and pick a check-in time
- Pre-Sale Event: a ticketed shopping event with a price, capacity limit, and shopping windows
Choose Who Can Register
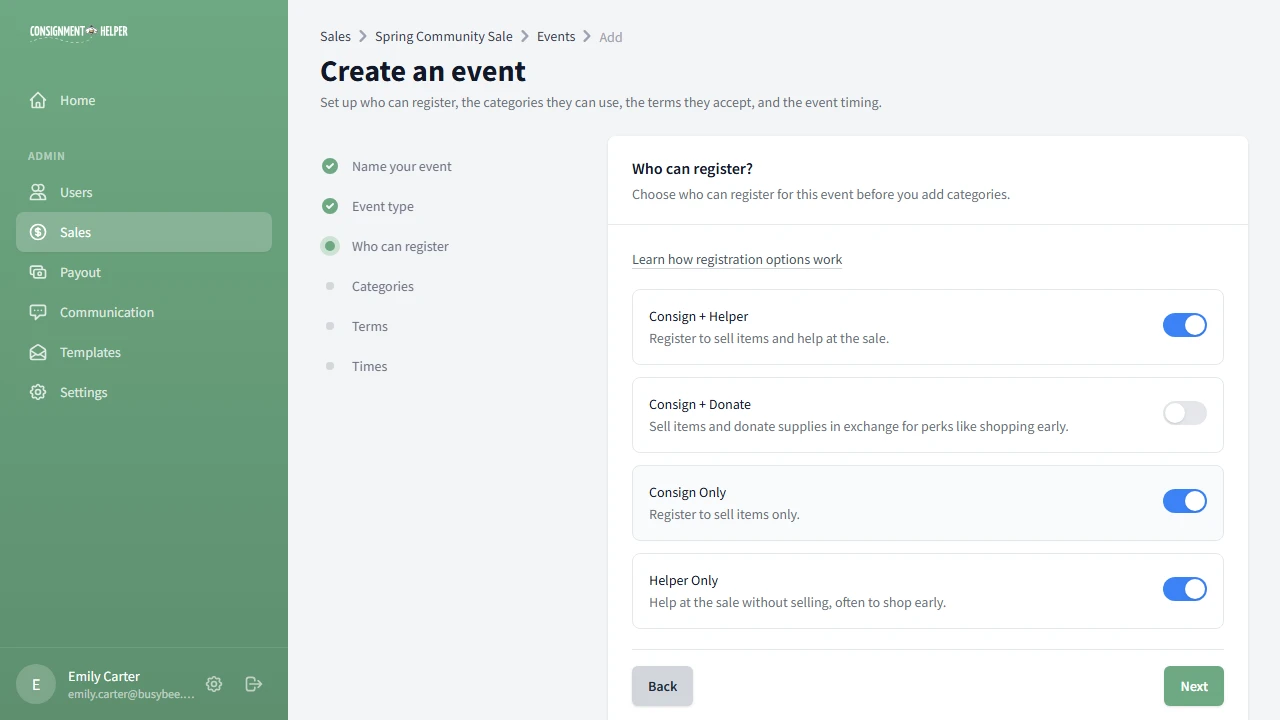
Turn on the ways people can sign up for this event. Each option is a simple toggle. Your sale's name for the volunteer role appears in these titles, so the screenshot here shows Helper while the default word is Volunteer. The four options are:
- Consign + Volunteer: register to sell items and also help at the sale
- Consign + Donate: sell items and donate supplies in exchange for perks like early shopping
- Consign Only: register to sell items with no volunteer work attached
- Volunteer Only: help at the sale without selling anything
Three options start on for you (Consign Only, Volunteer Only, and Consign + Volunteer), and Consign + Donate starts off. Keep at least one on so people have a way to sign up. You can change the mix later on the event's edit screen.
Select Categories
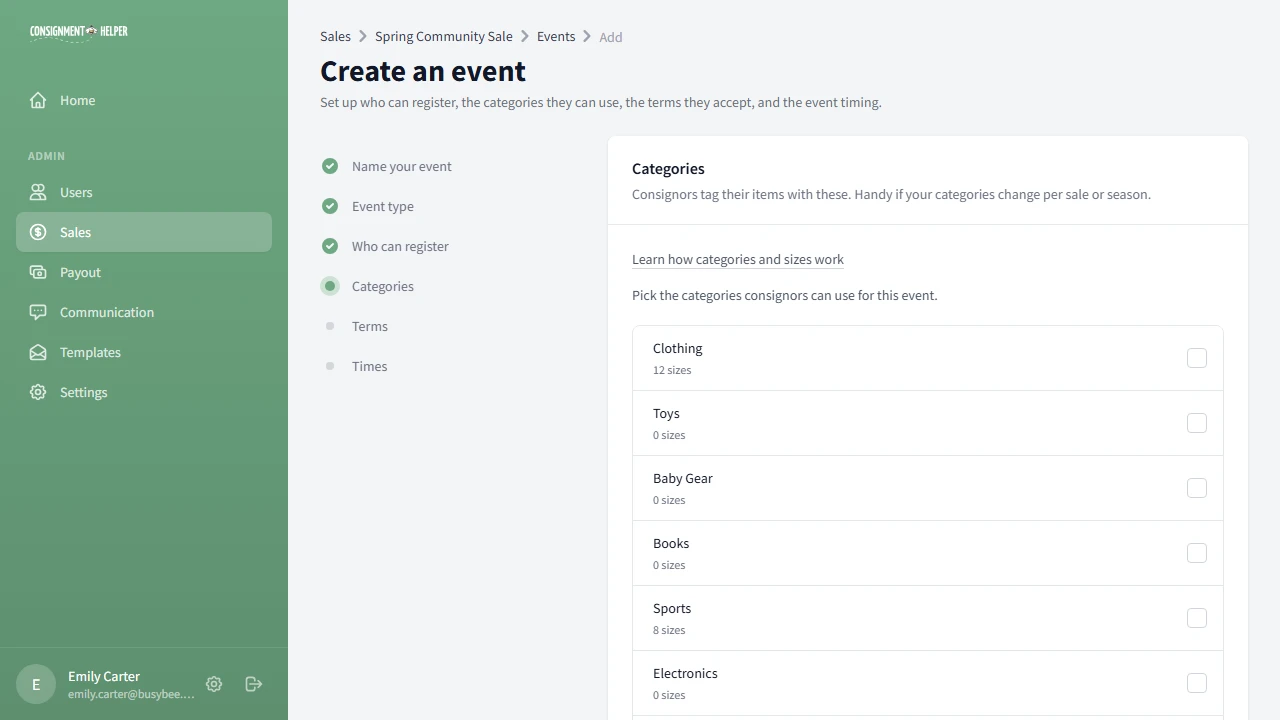
Choose which item categories this event offers. Consignors pick from these when they add items, so you need at least one selected to continue.
If your category list is empty, you can add one right here without leaving the wizard. Each category needs a name and at least one size.
Add Terms (Optional)
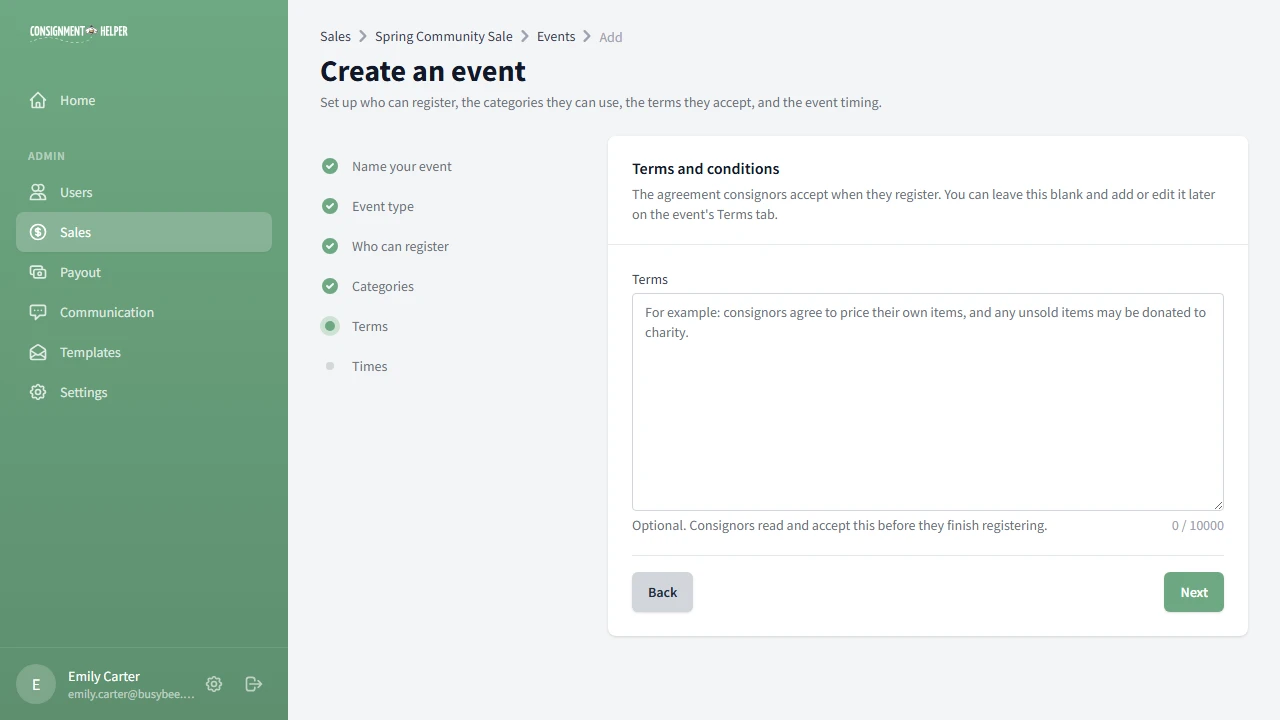
Add the terms and conditions consignors accept when they register, such as sale rules, liability waivers, and pickup policies. This step is optional. Leave it blank to skip it, and you can always add or edit terms later on the event's Terms tab.
Add Time Slots
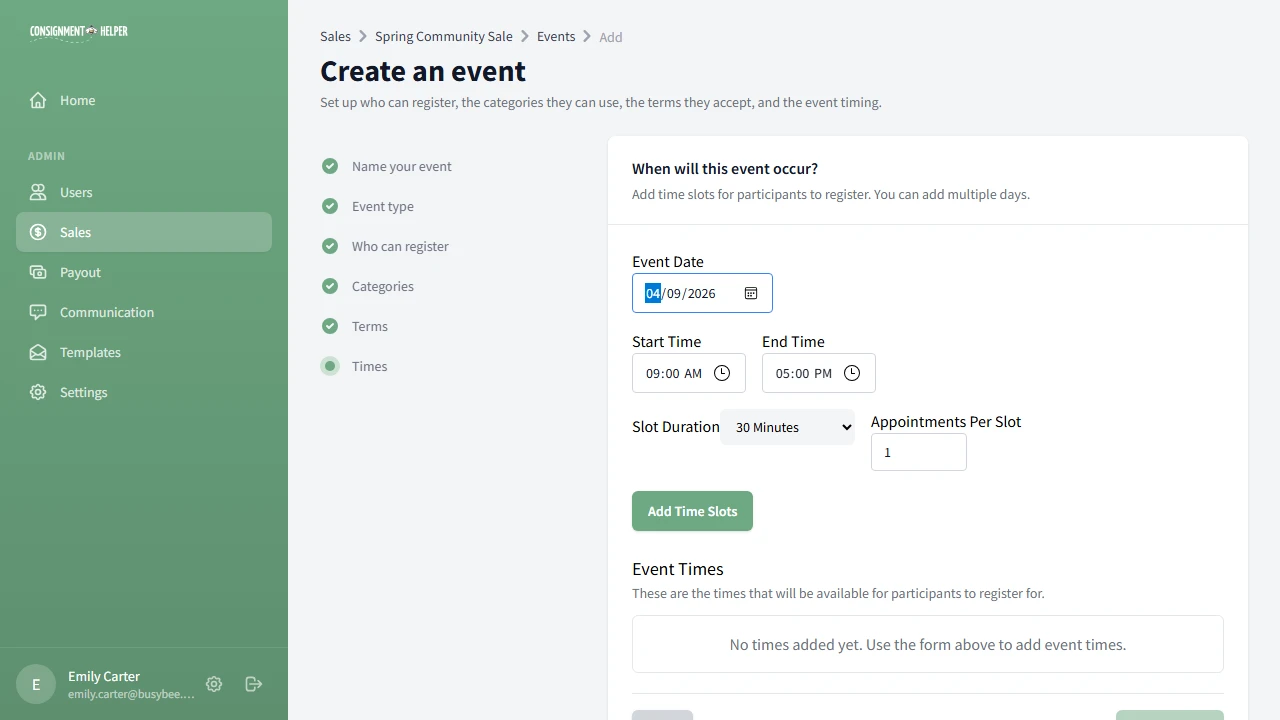
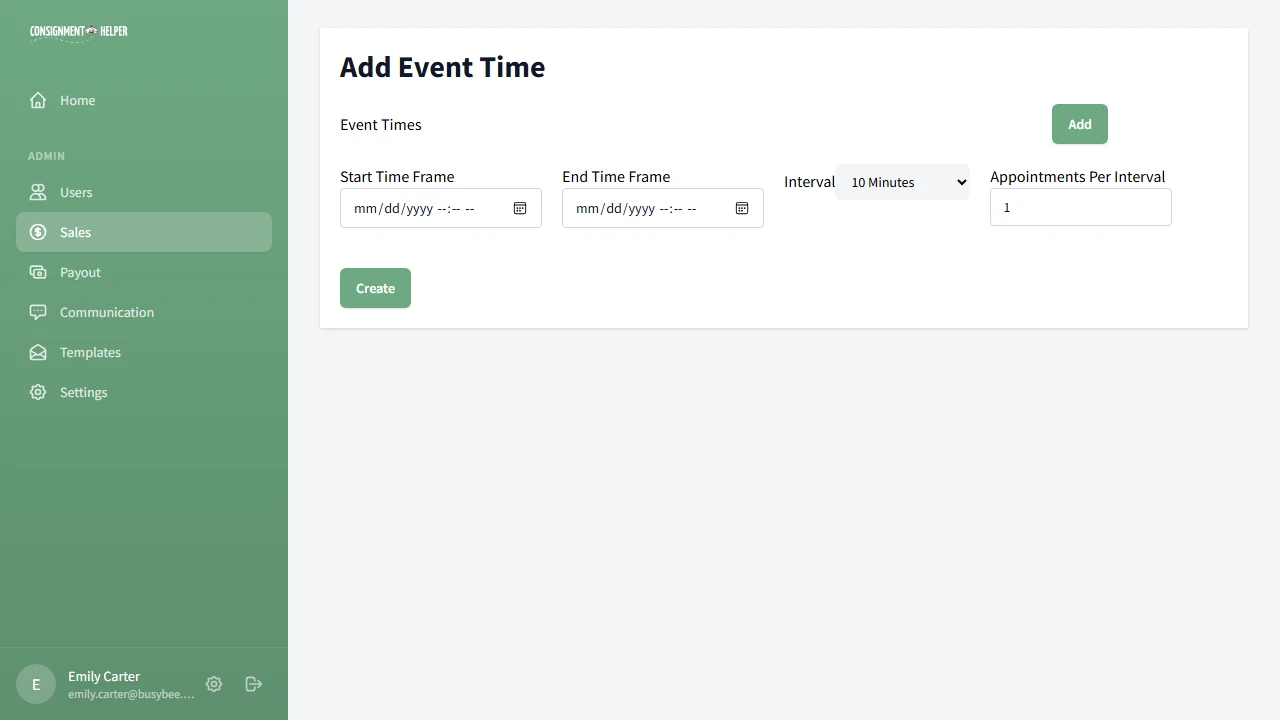
This is where you define when consignors can check in. Set a date, start time, end time, slot duration (like 30-minute windows), and appointments per slot.
The system automatically generates individual time slots. For example, 9 AM to 5 PM with 30-minute slots creates 16 slots, each with your chosen capacity. Learn more about time slots.
Review the Event Overview
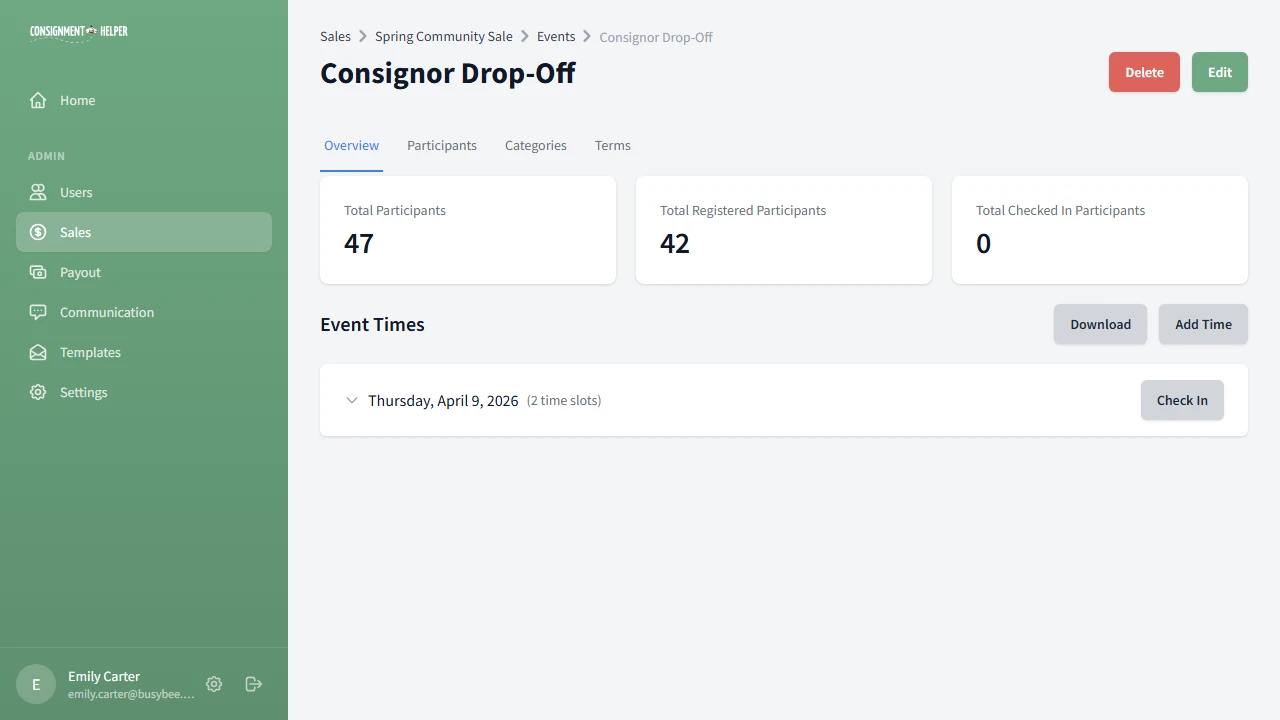
After creating your event, you'll see the overview with:
- Registration stats (registered, incomplete, checked in)
- Time slots grouped by date (click a date to expand and see individual slots)
- Registration count per slot (e.g., "28 / 30 registered")
Add More Time Slots Later
Need to add another check-in day, or open more slots because demand is higher than expected? Click Add Time from the event overview to generate additional time slots without recreating the event.
Events Are Set. Now Add Volunteers
With check-in events and time slots in place, the next step is setting up volunteer shifts and hour options so your helpers can sign themselves up.
Next: Set Up VolunteersCommon Questions
Do I have to add terms when I create the event?
No. The terms step is optional. You can leave it blank and add or edit terms later on the event's Terms tab. Consignors only see terms during registration if you have entered some. See Step 6.
What are the registration options, and can I change them later?
Registration options control how people sign up: Consign + Volunteer, Consign + Donate, Consign Only, or Volunteer Only. You choose them during setup and can turn them on or off later on the event edit screen. Changes apply to new registrations only and do not affect people who already registered. Read more about registration options.
Can I add more time slots after the event is created?
Yes. Click Add Time from the event overview to generate additional time slots at any time. You don't need to recreate the event. See Step 9 for details.
What's the difference between Consignor Events and Pre-Sale Events?
Consignor Events are for standard registration where participants sign up as consignors and pick a check-in time. Pre-Sale Events are ticketed shopping events with a price, capacity limit, and shopping windows. Most sales start with a Consignor Event and add Pre-Sale Events later.
How many appointments per slot should I set?
It depends on your venue and how many items you can process at once. A good starting point is 5-10 appointments per 30-minute slot for a small to medium sale. You can always add more slots later if demand is higher than expected.
Need a Hand?
Our team is happy to walk you through the setup process. Schedule a free demo and we'll get you up and running.